A Facebook pixel is a powerful way to help you measure the success of Facebook advertising on web pages outside of Facebook, and it lets you track the actions of people visiting your website from Facebook ads.
But how can you tell if your website has a Facebook pixel? What does a pixel even do, and how do you add one to your website? Get all of the information you need about Facebook Pixels below.
What Is A Facebook Pixel? What Does It Do?
Facebook can track the actions of people clicking your ads very easily – at least, when they’re using Facebook. But once they leave Facebook, you can no longer gather information about what they’re doing – unless you have a Facebook pixel as part of your Facebook ad campaign.
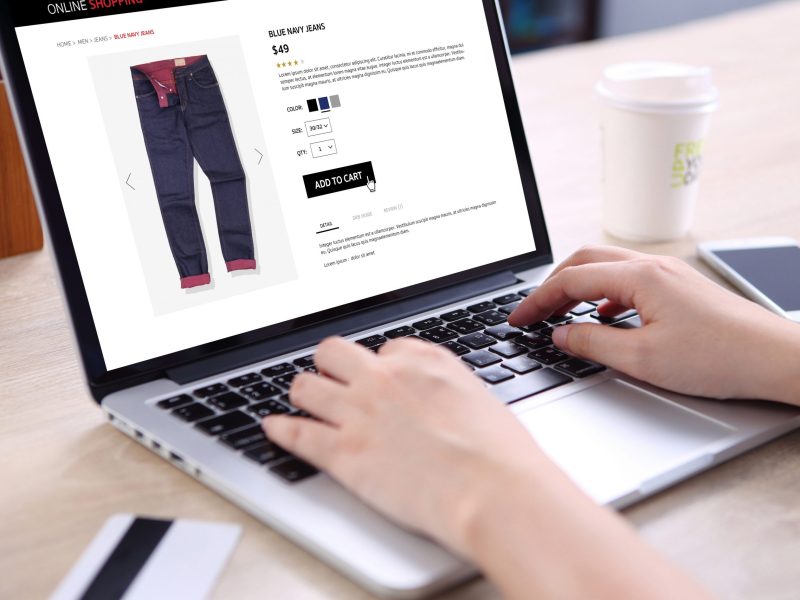
Facebook tracking pixels are small bits of code that you add directly to your website’s header code. This pixel code will “fire” whenever someone takes a particular action on your website, such as:
- Clicking the “add to cart” button
- Viewing a product
- When a customer checks out and completes a purchase
- When a customer fills out an enquiry form
There are a lot of different “standard events” that your Facebook Pixel can track, and you can also create custom events for custom conversions, and track almost any action on your website.
Your Facebook Pixel will send information about these actions to the Events Manager section of the Facebook page. Then, you can see what your customers are doing on your website – and even serve custom ads to people.
For example, you could serve an ad with a specific product to a potential customer who viewed that product but did not purchase it – increasing the likelihood of a future purchase by that customer.
By using a Facebook pixel, you can make sure your ads are shown to the right customers, drive more sales with ad retargeting, and easily measure the results of your ads through Facebook analytics to create more effective ad campaigns for website custom audiences.
How Can I Tell If My Website Has A Facebook Pixel?
If you’ve never tried to install a Facebook pixel before, your website won’t have one. But if you think that you may have set up a Facebook pixel already, or you just want to check, the best way is with the Facebook Pixel Helper extension for the Google Chrome browser.
If you do not already have Google Chrome, you can download it here, and follow the instructions to set it up on your computer. Then, you can click here to download and install the Facebook Pixel Helper extension.
This extension is rather simple, and makes it easy for you to understand if you have a Facebook pixel on your website, and if your pixel is working. To use the Facebook Pixel Helper, all you need to do is:
- Visit your website
- Click on the square icon with the </> symbol next to the address bar of your Google Chrome browser to open up the Facebook Pixel Helper extension
- View the information about your Facebook pixel. The Facebook Pixel Helper will determine if the pixel is loading properly, and will alert you if there are any issues with your Pixel that may demand your attention
If you need more information about the Facebook Pixel Helper, you can look at the official Facebook help page here, and make sure you know everything that you need to know about this handy tool.
How Do I Add A Facebook Pixel To My Website?
If you don’t have a Facebook pixel on your website, you should add one right away if you’re a Facebook Ads user. The process is relatively simple. First, you’ll need to create a pixel to use.
- Go to the Events Manager page for your business Facebook account
- Click the “Connect Data Sources” option and select “Web”
- Click “Facebook Pixel” and choose “Connect”
- Choose a “Pixel Name” that you’ll remember for your Facebook pixel
- Enter the URL of your website to view several easy setup options
- Click “Continue” to create your Facebook pixel code
From here, you have the ability to add the code to your website manually, or to use a partner integration from a CRM (customer relationship management) software like HubSpot.
You can also click a button to email instructions to a developer, and have them set up the Facebook pixel for you. To learn more about these setup options and choose the one that’s right for you, you can click here.
Once your Facebook pixel has been set up, you can use the Facebook Event Setup Tool for Web to begin setting up custom events. For example, you can set up a “purchase event” every time a customer clicks the “Place Order” button on your website, or you can create a custom event whenever a customer fills out an order enquiry form.
You can also create custom events without using this tool, but this will require the manual addition of code to your website, so this process will need to be handled by an experienced development partner. For most business owners, the Facebook Event Setup Tool for Web will be all you need.
Use The Power Of Facebook Pixels To Enhance Your Facebook Ad Campaign!

If you’re using Facebook Ads, but you’re not using a Facebook pixel to track the behaviour of customers once they visit your website, your ad campaigns won’t be nearly as effective as they could be.
Need help setting up a Facebook pixel, or managing your online ad campaigns? At Australian Internet Advertising, we’re here to help. Contact us online or give us a call at 1300 304 640 to learn more about how we can boost the effectiveness of your Facebook ad campaigns, assist in implementing a Facebook pixel on your website, and more.


