
For Australian business owners looking to drive more website traffic and convert.

Short answer: Shopify pricing in Australia starts at just $7/month (Starter plan) and.
If you’re planning to launch an eCommerce store in 2025, chances are.
Understanding how much Facebook ads cost, can be a challenging task for.
Short answer: Google ads average cost per click can range from $3.

Short answer: SEO can cost anywhere from $2000 to $10,000. The cost.

Picture this: Your website is getting steady traffic and the number of.

Advertising on Facebook brings some huge potential to the table. Over the.

Google Local Listings are a type of business profiles for local listings.

The tools offered by Google for marketers are highly valuable sources of.

Competition can be tough in certain industries, and when you’re trying to.
Advertising on Facebook seems like the obvious choice for B2C companies. With.

Across industries, the average ROI for a Google AdWords Shopping campaign is.
We’ll be the first to admit it: Google Ads (formerly known as.

So, you’re wondering: should you run search ads for your branded keywords?.
Do you ever feel like a product or page is stalking you.

Social media, while it may evolve in scope and user experience, is.

Many laypeople and regular internet users assume that web designers handle every.
If your website is not bringing you the conversions you were hoping.

Social media advertising was projected to drive over 23 billion phone calls.

Getting to the top of search engine results means optimising various factors.

Let us ask you this: Are you happy with your conversion rates?.

Are you concerned there’s a glass ceiling for Google Ads campaigns? If.
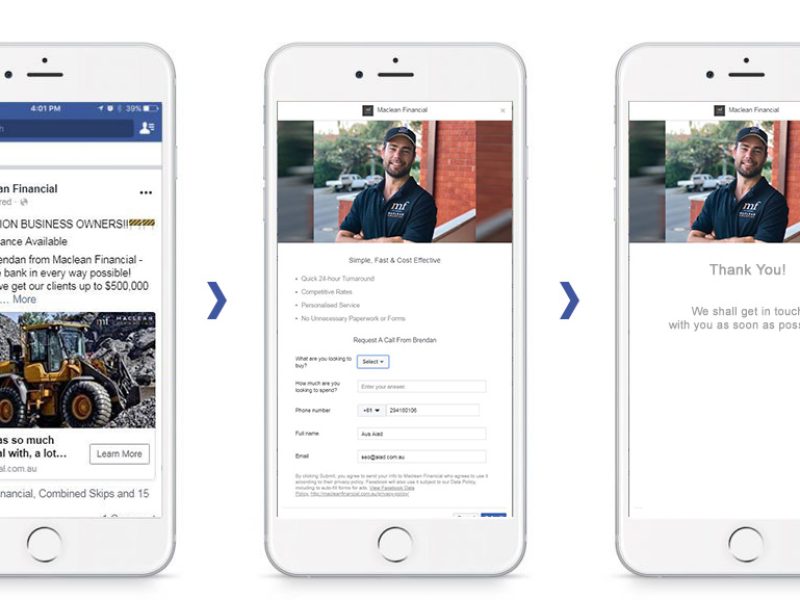
Over 1 billion people log onto Facebook every day. As one of.
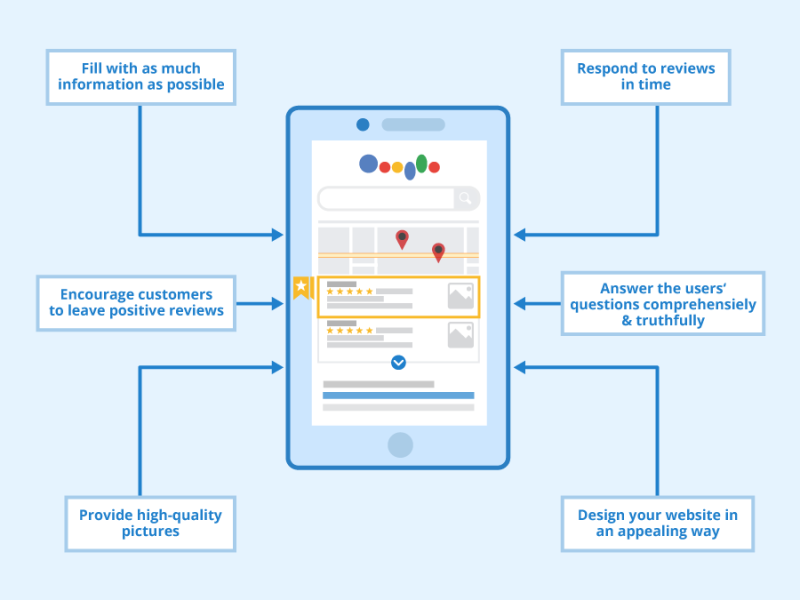
Google Business Profile is a profile for local businesses that appears on.

Short answer: To calculate the conversion rate on Facebook Ads, we divide.

Here’s the real deal about how accurate is Google Search Console: There.

The realm of digital marketing is incredibly complex and ever-changing. Take Search.
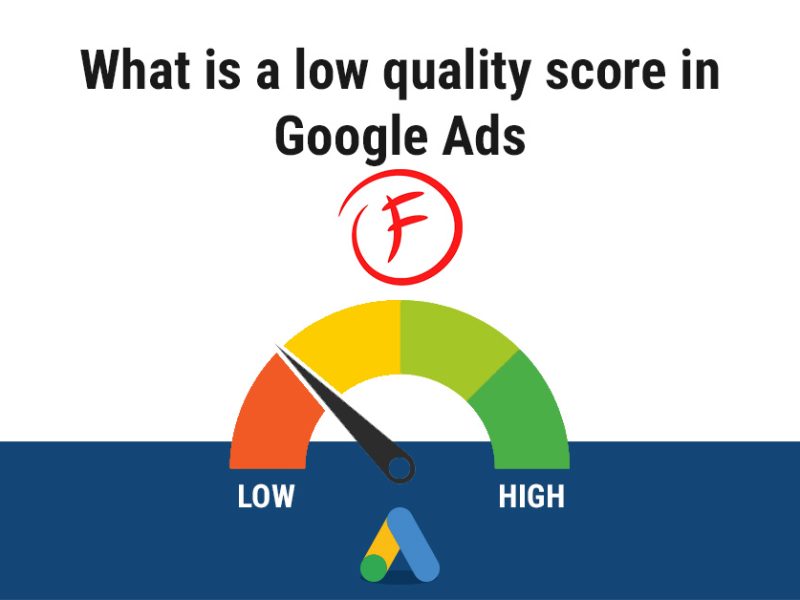
AdWords is one of the best places for PPC advertising. However, the.

Ever since social media has entered our lives, everything has changed. Whether.

If you are exploring SEO (search engine optimisation) in Sydney or anywhere.
Table of Contents: Unraveling the Concept of Local SEO Differentiating Between General.

Web design rather superficially. “It looks nice.” “I like the colour scheme.”.

This is not a secret anymore. If you want to grow your.

If you’re learning the basics about web development, you may be wondering.

Tracking your conversions for paid ads is essential to ultimately analyse the.

Email marketing is a good way to promote a company’s products or.

If you’re just getting started with Facebook advertising, you may be wondering.
Everything is interconnected in digital marketing, even if that connection is not.
Should you use Facebook Ads instead of Google Ads? The decision between.

Google Webmaster Tools, currently known as Google Search Console, has been for.

If you have an online business or a blog, then you probably.

Did you know that 81% of consumers perform online research before making.

There is a heated debate among marketers about whether benchmarking conversion rates.

With Facebook advertising, your business can reach more people than ever before..

Here’s a fascinating stat: Studies have shown that removing the navigation bar.
Granting access to your Google Business Profile or GBP (formerly known as.

Social media marketing has become a critical part of any online or.
Let’s Talk About What We’d Do If We Were You.

5.0 Based on 145 Reviews
READY TO TALK
Quick Links
Sydney
Suite 502/657 Pacific Highway
St Leonards NSW 2065
Tel:(02) 9062 4022
Melbourne
Suite 21/36-38 Gipps St
Collingwood VIC 3066
Tel:(03) 9116 9076
Brisbane
Suite 127 42 Manilla St
East Brisbane QLD 4169
Tel:(07) 3059 9460
Australian Internet Advertising – All Rights Reserved |Terms and Conditions | Privacy | Sitemap
web marketing australia, digital advertising agency, internet marketing sydney